问题导读
1、OpenStack安装方式大概有哪些?
2、哪些方式适用于生产环境和个人环境?
3、部署发展趋势如何?

(一)Centos7 - devstack快速安装openstack
准备环境
- selinux、iptables关闭
-
- mkdir -p ~/.pip # 使用豆瓣pip源
- vim ~/.pip/pip.conf
- [global]
- index-url = http://pypi.douban.com/simple/
-
- yum install -y git # 安装git
- cd /home
- git clone https://github.com/openstack-dev/devstack.git
-
- cd /home/devstack/tools/ # devstack默认不能以root身份运行
- ./create-stack-user.sh # 会创建一个stack用户
- chown -R stack. /home/devstack
准备local.conf
- su stack # 切换为stack用户
- cd /home/devstack/ # 切换到devstack目录下
-
- cp samples/local.conf ./ # 拷贝一个local.conf到本地来
- vim local.conf # 编辑local.conf配置文件,填上你需要安装的组件
- [[local|localrc]]
- # Define the devstack install directory
- DEST=/opt/ice/code/openstack/
- #Data directory
- DATA_DIR=/opt/ice/data
- #Service dirctory
- SERVICE_DIR=/opt/ice/data/service
- #yum command
- YUM=yum
- # no internet
- #OFFLINE=True
- #Reclone
- RECLONE=True
- #all package for lib
- LIBS_FROM_GIT=True
- # Minimal Contents
- # ----------------
- # While ``stack.sh`` is happy to run without ``localrc``, devlife is better when
- # there are a few minimal variables set:
- # If the ``SERVICE_TOKEN`` and ``*_PASSWORD`` variables are not set
- # here you will be prompted to enter values for them by ``stack.sh``
- # and they will be added to ``local.conf``.
- SERVICE_TOKEN=ice_token
- ADMIN_PASSWORD=admin
- MYSQL_PASSWORD=stackdb
- RABBIT_PASSWORD=stackmq
- SERVICE_PASSWORD=$ADMIN_PASSWORD
- # ``HOST_IP`` should be set manually for best results if the NIC configuration
- # of the host is unusual, i.e. ``eth1`` has the default route but ``eth0`` is the
- # public interface. It is auto-detected in ``stack.sh`` but often is indeterminate
- # on later runs due to the IP moving from an Ethernet interface to a bridge on
- # the host. Setting it here also makes it available for ``openrc`` to include
- # when setting ``OS_AUTH_URL``.
- # ``HOST_IP`` is not set by default.
- #HOST_IP=w.x.y.z
- # Logging
- # -------
- # By default ``stack.sh`` output only goes to the terminal where it runs. It can
- # be configured to additionally log to a file by setting ``LOGFILE`` to the full
- # path of the destination log file. A timestamp will be appended to the given name.
- LOGFILE=$DATA_DIR/logs/stack.sh.log
- # Old log files are automatically removed after 7 days to keep things neat. Change
- # the number of days by setting ``LOGDAYS``.
- LOGDAYS=2
- # Nova logs will be colorized if ``SYSLOG`` is not set; turn this off by setting
- # ``LOG_COLOR`` false.
- #LOG_COLOR=False
- # Using milestone-proposed branches
- # ---------------------------------
- # Uncomment these to grab the milestone-proposed branches from the repos:
- CINDER_BRANCH=stable/juno
- GLANCE_BRANCH=stable/juno
- KEYSTONE_BRANCH=stable/juno
- NOVA_BRANCH=stable/juno
- NEUTRON_BRANCH=stable/juno
- CEILOMETER_BRANCH=stable/juno
- HORIZON_BRANCH=stable/juno
- REQUIREMENTS_BRANCH=stable/juno
- # -------Service
- #
- #
- ENABLED_SERVICES=g-api,g-reg,key,n-api,n-crt,n-obj,n-cpu,n-cond,n-sch,n-xvnc,n-cauth,mysql,rabbit
- ENABLED_SERVICES+=,c-sch,c-api,c-vol
- ENABLED_SERVICES+=,ceilometer
- # Horizon config
- enable_service horzion
- # Install the tempest test suite
- enable_service tempest
- # Neutron
- disable_service n-net
- enable_service q-svc
- enable_service q-agt
- enable_service q-dhcp
- enable_service q-l3
- enable_service q-meta
- enable_service q-metering
- enable_service neutron
- # VXLAN tunnel configuration
- Q_PLUGIN=ml2
- Q_ML2_TENANT_NETWORK_TYPE=vxlan
安装
- cd /home/devstack
- ./stack.sh # 开始安装
运行Devstack
admin用户
- source /home/devstack/openrc admin admin # 加载环境变量进行操作
demo用户
- source /home/devstack/openrc demo demo # 加载环境变量进行操作
############################################
参考链接
http://www.chenshake.com/devstack-installation-and-testing/
(二)RDO快速部署openstack J版
最近在准备redhat openstack认证考试,必须要用到packstack来构建openstack考试平台。在这里做个笔记,方便下次使用。
1 制作本地源
- [rdo]
- name=rdo
- baseurl=http://192.168.1.136/rdo/Packages
- gpgcheck=0
- yum clean all
- yum list # 没有本地源,rdo从网上下载很慢
2 安装packstack
- yum install -y openstack-packstack # 安装packstack包
- packstack --gen-answer-file /root/answer.txt # 生成一个answer-file文件
3 编辑answer-file
- vim /root/answer.txt # 编辑answer.txt,修改相应内容
- CONFIG_CEILOMETER_INSTALL=n
- CONFIG_NTP_SERVERS=1.cn.pool.ntp.org # ntp server地址
- CONFIG_COMPUTE_HOSTS=192.168.234.20
- CONFIG_REPO=http://192.168.1.136/rdo/Packages # 可以配置本地源
- CONFIG_KEYSTONE_ADMIN_PW=redhat
- CONFIG_HORIZON_SSL=y
- CONFIG_PROVISION_DEMO=n
- CONFIG_NEUTRON_L2_PLUGIN=ml2
- CONFIG_NEUTRON_ML2_TYPE_DRIVERS=vlan
- CONFIG_NEUTRON_ML2_TENANT_NETWORK_TYPES=vlan
- CONFIG_NEUTRON_ML2_MECHANISM_DRIVERS=openvswitch
- CONFIG_NEUTRON_ML2_VLAN_RANGES=physnet1:1000:2000
- CONFIG_NEUTRON_OVS_TENANT_NETWORK_TYPE=vlan
- CONFIG_NEUTRON_OVS_VLAN_RANGES=physnet1:1000:2000
- CONFIG_NEUTRON_OVS_BRIDGE_MAPPINGS=physnet1:br-eth0
- CONFIG_NEUTRON_OVS_BRIDGE_IFACES=br-eth0:eth0 # 这里好像是个bug,不填我执行packstack是成功的,然后手动ovs-vsctl add-port
还有一个注意的是:selinux不能是disabled的
- packstack --answer-file /root/answer.txt # 等着装完就好了
安装完成后,br-ex也要自己手动add-port的
dashboard上创建网络的时候,有个provider默认是default,如果按上面配置就是physnet1。如下图所示:

########################
本文转载自:http://iceyao.blog.51cto.com/9426658/1588071
(三)Openstack一键安装
系统:Centos6.5x64
单节点 CentOS yum 快速安装;
- [root@host ~]# vi /etc/yum.repos.d/opentstack.repo
- # vi /etc/yum.repos.d/opentstack.repo
- [openstack]
- name=OpenStack
- baseurl=https://repos.fedorapeople.org/repos/openstack/EOL/openstack-grizzly/epel-6/
- enabled=1
- gpgcheck=0
- priority=1
- [root@host ~]# yum clean all
- [root@host ~]# yum install -y openstack-packstack
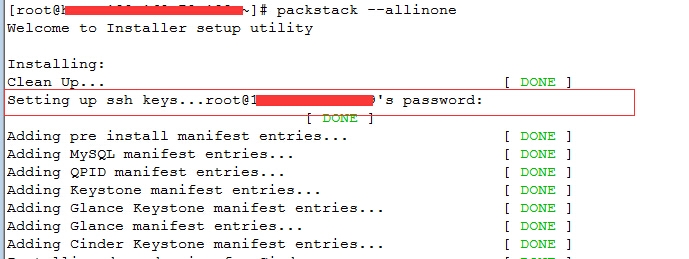
- [root@host ~]# packstack --allinone

会有提示输入密码;
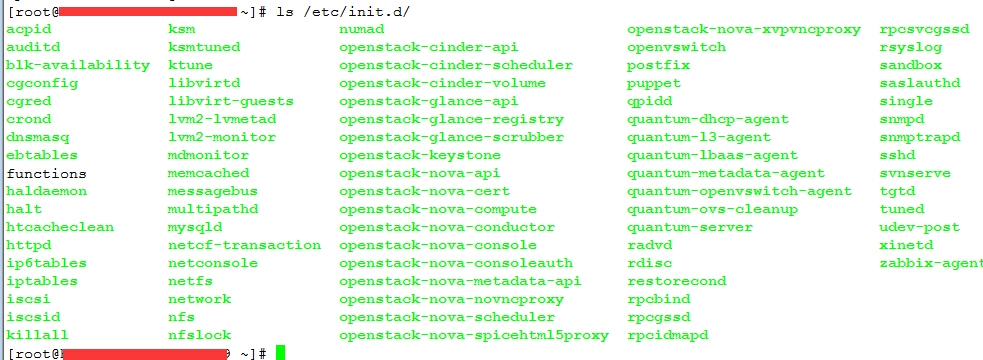
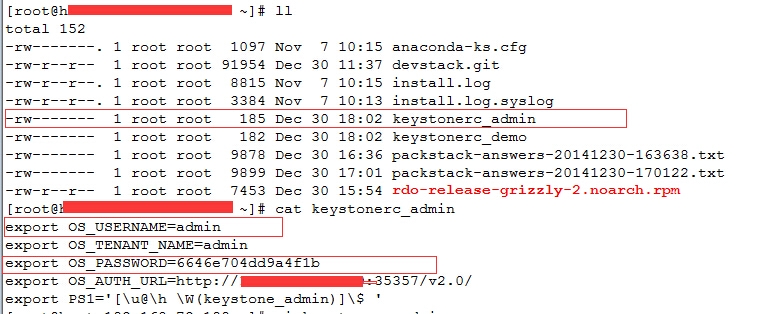
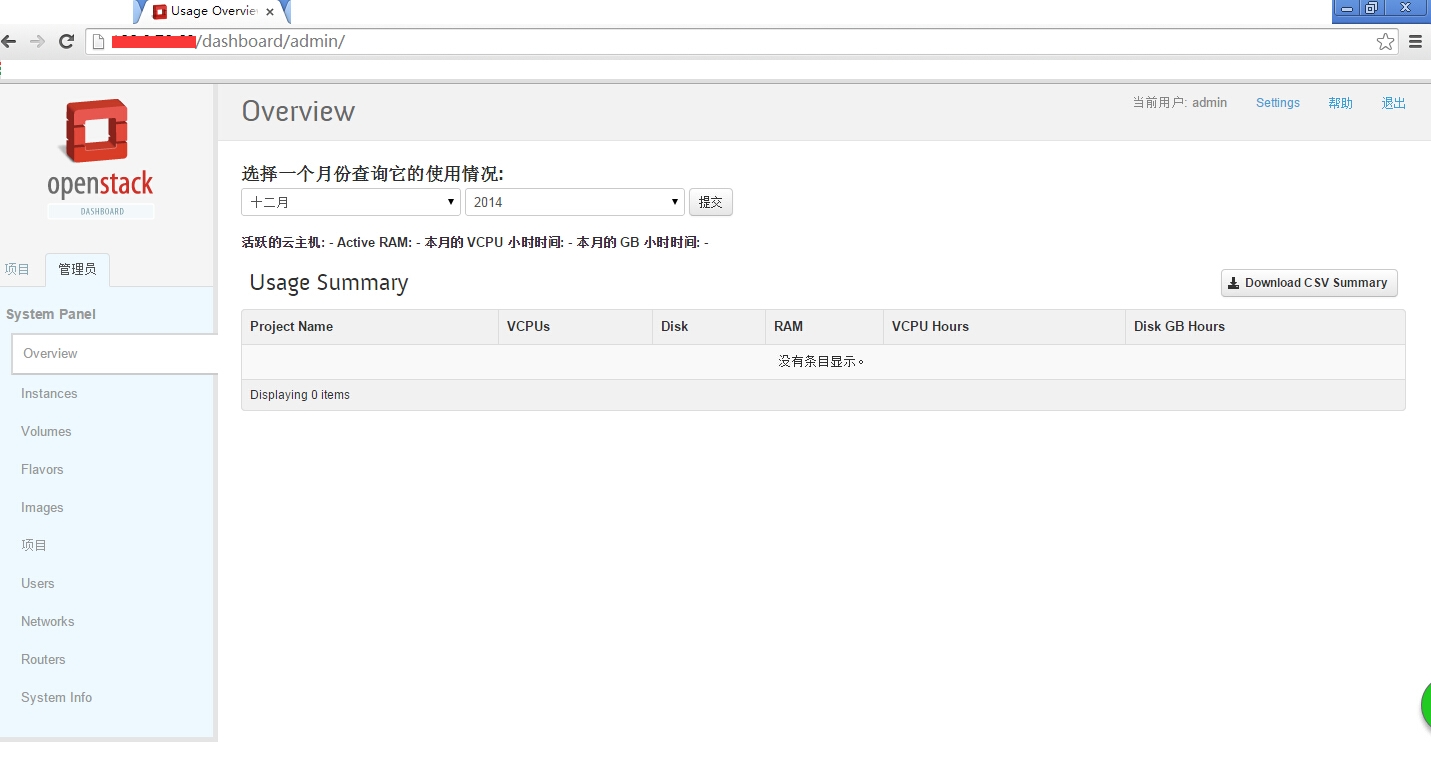
访问: http://ip//dashboard/


##################
本文转载自:http://51log.blog.51cto.com/6076767/1597903
(四)OpenStack之Fuel安装
使用Fuel安装OpenStack juno安装OpenStack
(五)OpenStack之手动安装
《OpenStack Juno for RHEL、CentOS、Fedora安装指南》
(六)其他
|  /2
/2 